
Ethereum smart contracts have a wide variety of use cases, but until now it has been quite difficult to call them from your iOS app. Well, that has changed! Just by using Ethereum iOS Dev Kit and EtherKit, you can get started in no time. At the end of this tutorial you will be able to call any public contract function that is defined in its ABI (Application Binary Interface).
Let's Get Started
For this project we will be using Xcode 10.0 and ContractCodegen 0.1. We also recommend to use iOS MVVM Project Template, but to keep this tutorial simple, we will use normal iOS project structure.
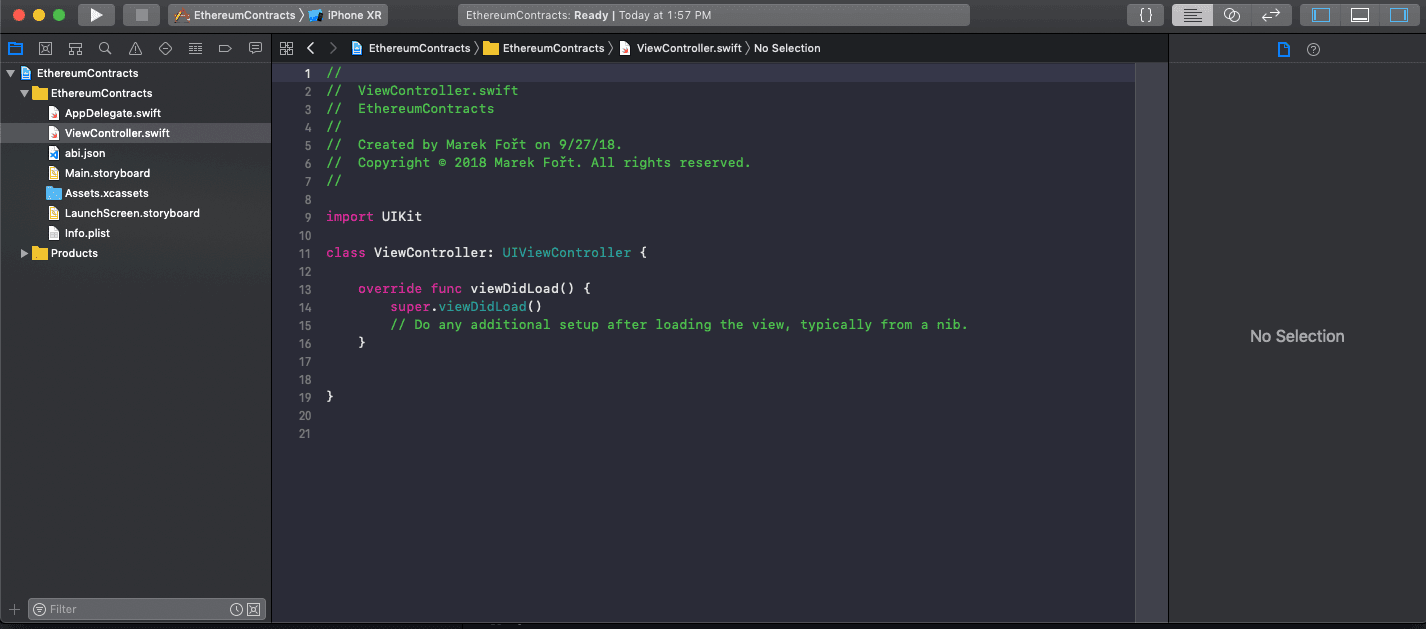
First of all we will create a new iOS project and call it for example EthereumContracts. Download our example contract abi.json file here. When the download succeeds, drag the file to your Xcode project. Your Xcode project should now look like this:
Installing ContractCodegen
In the next part of this tutorial we will download ContractCodegen from our Ethereum iOS Dev Kit. For this I will use Cocoapods which will automatically download the necessary dependencies as well, but there are other methods available, described at Ethereum iOS Dev Kit Github.
In your project root directory create Podfile and insert this code:
platform :ios, '10.3'
project 'EthereumContracts'

inhibit_all_warnings!
use_frameworks!

target 'EthereumContracts' do
   pod 'ContractCodegen', '~> x.y.z'
end
Open Terminal and paste this command
pod install When this command finishes, close our EthereumContracts project and in Finder open EthereumContracts.xcworkspace.
Great! Now let's generate Swift code to interact with our smart contract ?
Generating Swift Code
Firstly, make sure that you are in your project root directory. If you are, we can generate our Swift code quite simply, just by using this command:
Pods/ContractCodegen/ContractCodegen/bin/contractgen HelloContract EthereumContracts/abi.json -x EthereumContracts.xcodeproj -o EthereumContracts/GeneraredContractsWhen the command asks you which target to use, it's quite simple, use the only one, that is option number one ?
And voilá, if you got the message "Code generation: ✅", you have created your first Swift code for Ethereum smart contract ?
You should now see a group Generated Contracts and two files in it – SharedContract.swift and HelloContract.swift. The first one helps with invocating individual methods that are defined in the contract files (in our case it is HelloContract) and is the same for all generated contracts.
And to the fun part – actually using our generated code to call our contract.
Creating Keys
Navigate to our ViewController and at the top of the file write:
import EtherKitNow we need to declare which geth network we will use to communicate with the smart contract. In order to do that let's define a property in ViewController:
let query = EtherQuery(URL(string: "https://rinkeby.infura.io/v3/9f1a1e0782ab40c8b39fe189615714d0")!, connectionMode: .http)You can use any URL you want, the one you see in the string is just one we provided for you.
Then we will continue in our viewDidLoad() function and create our keys:
let walletStorage = KeychainStorageStrategy(identifier: "cz.ackee.etherkit.example")

HDKey.Private.create(
        	with: MnemonicStorageStrategy(walletStorage),
        	mnemonic: sentence,
        	network: .main,
        	path: [
            	KeyPathNode(at: 44, hardened: true),
            	KeyPathNode(at: 60, hardened: true),
            	KeyPathNode(at: 0, hardened: true),
            	KeyPathNode(at: 0),
            	]
    	)
Whoah! What is all this? Well, it's quite simple, really.
Firstly, we create mnemonic sentence - this sentence is used to create your private and public keys, as well as addresses. To create your own, which we obviously recommend, you can for example use MyCrypto wallet that you can download from here. HDKey.Private.create then creates our master node from which all other public and private keys, as well as addresses, are derived.
As you can see, the compiler now shows us this warning:

When we look at the function of HDKey.Private.create, we can see it has a completion parameter Result) -> Void. This is because creating our account is an async operation and so we will need to start calling our smart contract after this function is completed.
In order to keep our code simple and readable, we will create a new function from which we will call our contract:
private func testContract() {

}
Now we call this function from the completion that I mentioned earlier like this:
HDKey.Private.create(
        	with: MnemonicStorageStrategy(walletStorage),
        	mnemonic: sentence,
        	network: .main,
        	path: [
            	KeyPathNode(at: 44, hardened: true),
            	KeyPathNode(at: 60, hardened: true),
            	KeyPathNode(at: 0, hardened: true),
            	KeyPathNode(at: 0),
            	]
    	) { [weak self] _ in
        	self?.testContract()
    	}
Be patient, we are getting closer to the final result ?
Calling our Contract
Head to the testContract() function we have created earlier. Firstly, we need to find one of our created keys stored in our storage using key paths (the code below simply goes through a tree to a specific location):
let walletStorage = KeychainStorageStrategy(identifier: "cz.ackee.etherkit.example")
let key = HDKey.Private(walletStorage, network: .rinkeby, path: [
        	KeyPathNode(at: 44, hardened: true),
        	KeyPathNode(at: 60, hardened: true),
        	KeyPathNode(at: 0, hardened: true),
        	KeyPathNode(at: 1),
        	])
And to the final part of the code, we're almost there!
let testContractAddress = try! Address(describing: "0xb8f016F3529b198b4a06574f3E9BDc04948ad852")
    	query.helloContract(at: testContractAddress).testString(greetString: "Greetings!").send(using: key, amount: Wei(10)).startWithResult { result in
        	switch result {
        	case .success(let hash):
            	print(hash)
            	print("Test greetings succeeded!")
        	case .failure(let error):
            	print(error)
            	print("Test greetings failed.")
        	}
    	}
OK, let's see what this does.
testContractAddress points to our created smart contract address. To use your own replace the string with a desired hex code.
The rest of the code is the call itself. I think it is pretty self-descriptive, but we will go through it, just to be clear.
We find all of our HelloContract functions and declare which contract address we want to use with query.helloContract(at: testContractAddress). Then we choose one of the functions, in this example I have chosen function testString that has String as an input (this value will be used by our smart contract). After that we send this data by send. Key value is the one we have found in our storage earlier, amount declares how much Ethereum we want to send (as you can see, we use typealias for UInt256 for better readability). send then returns SignalProducer. If you do not know what that is, read more about it at ReactiveSwift documentation.
If the call succeeds, it returns Hash type. That is just a hash of the transaction we have sent.
Let's see if it works!
Try to run the application and if you see in the output a hash and a string "Test greetings succeeded!", you have just called your first smart contract function using Swift! ?
There is one more thing that should be said. There are two types of smart functions - payable and non-payable. This difference is taken care of by the generated smart contract code, so the only difference you will see in your code between these two types is that when calling non-payable function, the paramater amount will be omitted (since no Ethereum should be sent). Quite simple, huh? ?
If you want to check out the whole project, you can download it here.
More Reading
We have covered quite a lot of ground, so if you are interested in how all of this works or help with the further development, here are some links to get you started:
Ethereum iOS Dev Kit - Github page of Ethereum iOS Dev Kit (including ContractCodegen)
EtherKit - Github page of the underlying framework used for sending transactions
Infura - Service we use for free geth network
Ledger - Documentation of how keys and their generation work (including mnemonic sentence)